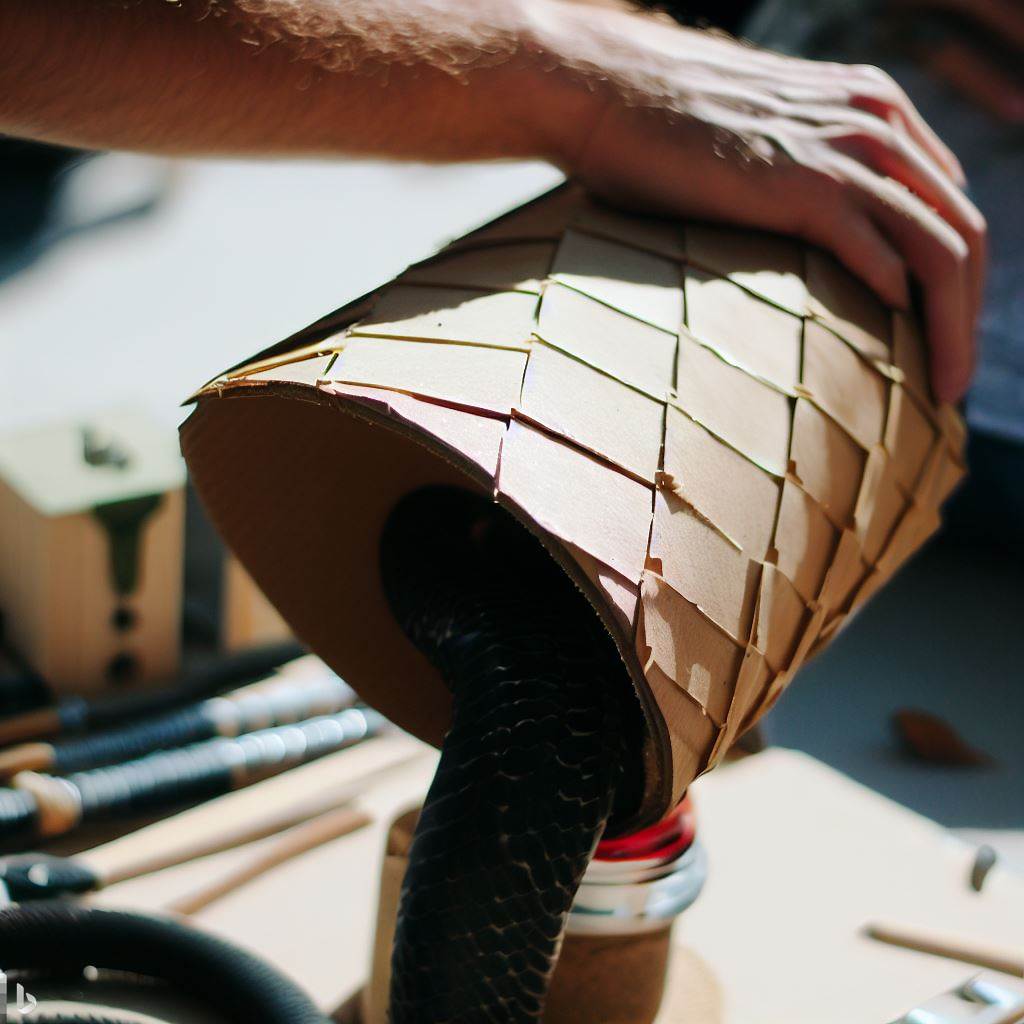
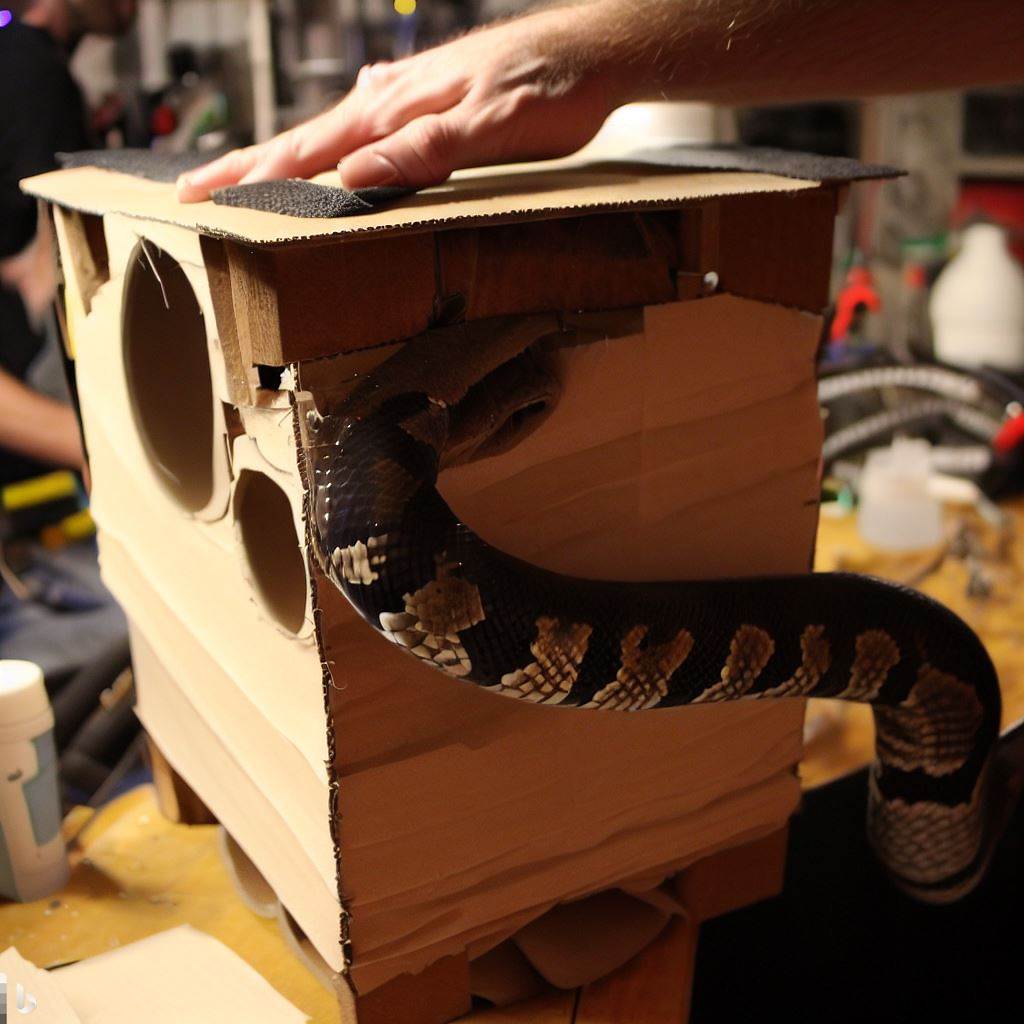
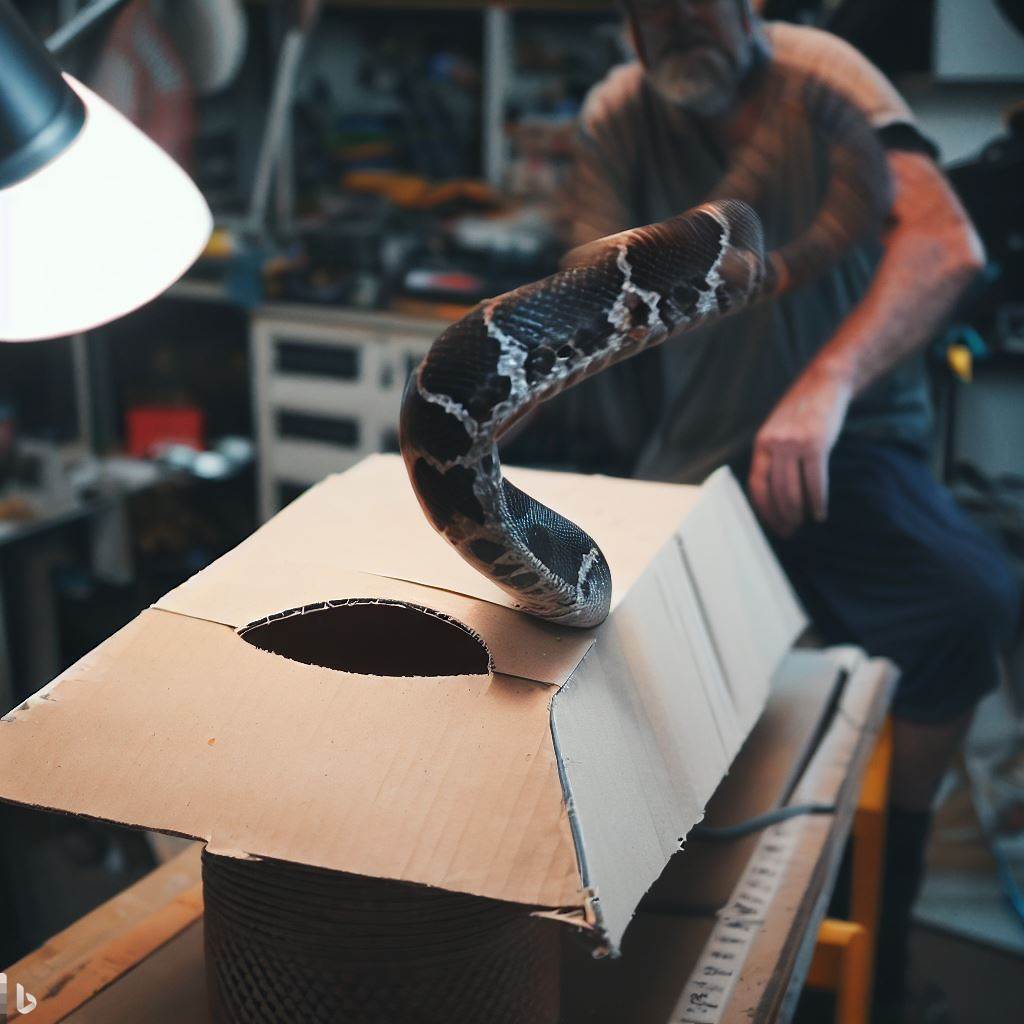
If you’ve ever felt a shiver down your spine at the sight of a slithering snake inching its way into your backyard, trust me, you’re not alone. But what if I told you that there’s actually a simple and effective solution to keep these cold-blooded gatecrashers at bay? A DIY snake baffle – yes, it’s as brilliant as it sounds!

Oh, the joy of creating something useful with our own hands! It’s like we’re channeling our inner MacGyver or Bob the Builder – but instead of dismantling bombs or building skyscrapers, we’re crafting an ingenious device to safeguard our homes from unwanted serpentine visitors. Intriguing isn’t it?
So buckle up dear reader and let’s embark on this fascinating journey together – filled with wit and an ample dose of insight. By the end of it all, not only will you have acquired valuable knowledge but also a newfound confidence in tackling one such slippery issue—literally!
Here is an article you might be interested in do bladder snails reproduce asexually
Here is also another exciting article to read do does blow at bucks
Choosing the Right Materials for a Snake Baffle
Before diving into the creation process, it’s important to select the right materials for your DIY snake baffle. You’ll need sturdy and durable materials that can withstand various weather conditions while effectively deterring snakes. Here are some options you can consider:
1. Galvanized Sheet Metal: This material is strong and long-lasting, making it an excellent choice for a snake baffle.
2. Hardware Cloth: Also known as wire mesh or chicken wire, hardware cloth is another suitable option due to its ability to prevent snakes from passing through.
3. PVC Pipe: If you prefer a more lightweight solution, PVC pipe can be used as an alternative material for your homemade snake baffle.
Steps in Creating a DIY Snake Baffle
Once you have gathered all the necessary materials, it’s time to put together your very own snake deterrent system! Follow these steps:
1. Measure and Cut
Begin by measuring the circumference of the area where you plan on installing the snake baffle. Then cut your chosen material into a strip with enough length to encircle that space.
Pro Tip: Make sure there are no gaps larger than one-third inch within the strip.
2. Add Ventilation Holes (Optional)
If using galvanized sheet metal or hardware cloth, consider adding small ventilation holes along one side of the strip before forming it into a circle. These holes will allow for air circulation and prevent moisture buildup.

3. Shape and Secure
Using the measured strip, form a circular shape to create the barrier that snakes cannot easily cross. Secure the ends of the strip together using screws or strong adhesive, ensuring a tightly sealed connection.
4. Paint (Optional)
To enhance the aesthetic appeal of your snake baffle, you can paint it with non-toxic outdoor paint. This step is purely optional but can add a touch of personalization to your DIY creation.
Positioning and Mounting Your Homemade Snake Baffle
Now that you have successfully crafted your own snake baffle, it’s time to strategically position and mount it in order to maximize its effectiveness as a snake deterrent. Consider these tips:
1. Identify Snake Entry Points: Take some time to inspect your property for potential entry points where snakes may be gaining access. Common areas include gaps under doors, cracks in walls, or openings around utilities such as pipes or cables.
2. Place Around Vulnerable Areas: Install your homemade snake baffles near vulnerable areas such as garden beds, chicken coops, or play areas where children frequently spend their time.
Pro Tip: If using PVC pipe for your snake baffle, bury one end into the ground slightly to increase stability and ensure snakes won’t find an easy way underneath.
3. Mount Effectively: Depending on the type of material used for your DIY snake baffle, choose appropriate mounting methods such as screws or stakes driven into the ground.
Safety Precautions in Handling and Installing Snake Baffles
While creating and installing a DIY snake baffle can be a rewarding and effective solution, it’s important to prioritize safety throughout the entire process. Follow these precautions:
1. Wear Protective Gear: Always wear gloves and long sleeves when handling materials with sharp edges, such as galvanized sheet metal or hardware cloth, to avoid cuts or injuries.
2. Secure Your Work Area: Ensure your work area is clear of clutter, tripping hazards, and potential snake encounters before starting any construction or installation.
3. Exercise Caution During Installation: Be mindful of your surroundings while positioning and mounting your snake baffle to avoid accidental falls or damage caused by uneven terrain.
4. Seek Professional Help if Necessary: If you’re uncomfortable working with power tools or unsure about certain aspects of the installation process, don’t hesitate to seek assistance from a professional handyman.
Troubleshooting Common Issues with DIY Snake Baffles
Like any DIY project, there may be some challenges along the way when creating and using your homemade snake baffle. Here are solutions for common issues you might encounter:
1. If snakes manage to find their way underneath your snake baffle, consider burying it deeper into the ground or adding an additional layer along the bottom edge for extra protection.
2. Some snakes can climb vertical surfaces more easily than others; therefore, ensure that your snake baffle is tall enough (at least 30 inches) to prevent climbing attempts.
Pro Tip: For added security against climbers like tree-dwelling snakes, place metal flashing around nearby trunks where they may attempt entry.

Maintenance Tips for Long-Lasting Efficiency of Your DIY Snake Baffle
To maintain optimal performance from your DIY snake deterrent system over time, follow these maintenance tips:
1. Routinely inspect your snake baffle for any signs of damage, wear, or loose connections. Repair or replace as necessary to ensure its effectiveness.
2. Periodically clean your snake baffles with mild soap and water to remove dirt, debris, and any potential scents that might attract snakes.
3. If you prefer additional measures alongside your DIY snake baffle, consider using natural snake repellents such as cinnamon oil or clove oil sparingly around the area.
Innovative Alternatives to Traditional DIY Snake Baffles
While traditional DIY snake baffles can be highly effective in deterring snakes from specific areas, there are also innovative alternatives worth exploring:
1. Solar-Powered Ultrasonic Snake Repellers
These devices emit high-frequency sound waves that are unpleasant to snakes but inaudible to humans. They work continuously day and night without the need for power cords or batteries.
2. Motion-Activated Water Sprayers
Equipped with infrared sensors, these devices detect movement and spray a burst of water when triggered. This sudden stream can startle and deter snakes effectively while providing a humane solution.
Remember that not all methods may work equally well in every situation due to factors like landscaping layout or local snake populations. Experimenting with different approaches will help you find the most effective solution for your specific needs.
Conclusion
Creating a DIY snake baffle is an eco-friendly way to keep those slithering reptiles at bay on your property. By choosing the right materials and following proper installation techniques, you’ll have an efficient deterrent system that ensures peace of mind for both you and your loved ones.
Read another exciting blog post here do hummingbirds sit still
This is the article to read for today do modular homes have basements
